Published on April 12, 2026
QuickBooks Invoice Template: How to Use It
quickbooks invoice template tips to help us create cleaner invoices, reduce errors, and speed up payment collection.
Using a quickbooks invoice template can help us create professional invoices faster, reduce manual errors, and keep billing consistent across clients. When we rely on a structured template, we make it easier to capture the right details, present a polished brand image, and send invoices with less back-and-forth.
In this article, we explain how to use a QuickBooks invoice template effectively, what information to include, and how to adapt it for different business needs. We also look at practical ways to streamline invoicing so we can spend less time on admin and more time getting paid.
Key Takeaways
- A quickbooks invoice template helps us standardize billing details and reduce avoidable errors.
- The best templates include clear line items, payment terms, branding, and a visible balance due.
- Customizing templates for different clients or services can improve clarity and speed up approval.
- When invoicing becomes too manual, a more connected workflow can save time and help us get paid faster.
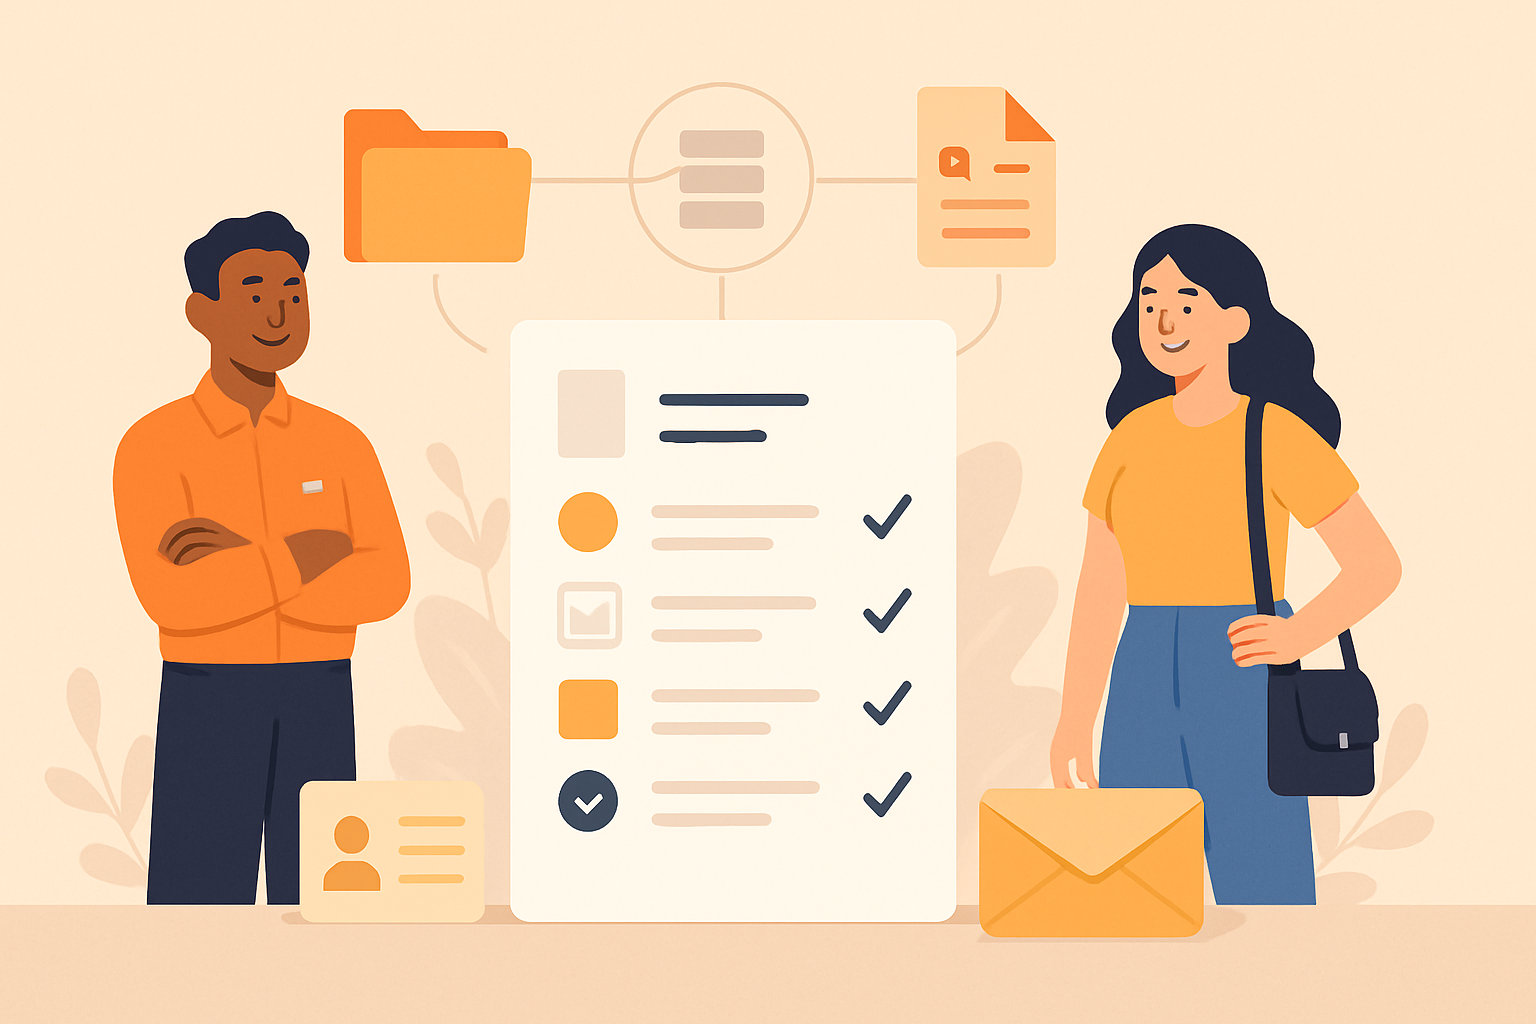
What a QuickBooks Invoice Template Includes
A quickbooks invoice template usually includes the core fields we need to create a complete, professional invoice without starting from scratch. At a minimum, we can expect space for our business name and contact details, the client’s billing information, an invoice number, invoice date, due date, and a clear list of products or services provided.
Most templates also include line-item details such as quantity, rate, and total, which help us show exactly how charges were calculated. This makes it easier for clients to review the invoice and reduces back-and-forth about what is being billed.
Depending on the version or setup, we may also see sections for:
- Payment terms so clients know when payment is due
- Notes or memo fields for project details, thank-you messages, or instructions
- Tax fields for applicable sales tax or other charges
- Discounts or credits when we need to adjust the total
- Balance due to show the final amount owed
We should also look for branding options such as a logo, color accents, and font styling. These elements do not change the invoice’s function, but they help us present a consistent, polished image to clients.
In practice, the best template is one that balances detail with simplicity. We want enough information to support accurate billing and faster payment, but not so much clutter that the invoice becomes hard to read. When we use a template that is clear and complete, we make it easier for clients to approve and pay on time.
How to Set Up and Customize a QuickBooks Invoice Template
To set up a quickbooks invoice template, we start by opening the invoice layout settings and choosing a base template that matches our billing style. From there, we can adjust the fields, labels, and design elements so the invoice reflects our business and makes payment details easy to find. The goal is not just to make the invoice look polished, but to make it faster for clients to review and pay.
We usually begin with the essentials: company name, logo, contact information, invoice number, issue date, due date, and payment terms. These details should be visible without clutter. If we work with recurring clients, we may also want to include a project name, purchase order number, or service period so the invoice is easier to match with internal records.
Customization should also support clarity. We can rename columns, add tax fields, or include discounts if those apply to our billing process. For service-based businesses, it helps to use line items that describe work in plain language rather than generic labels. For product-based invoices, we may need quantity, unit price, and subtotal fields to keep charges transparent.
When we customize the template, we should keep formatting consistent across every invoice. That means using the same font, spacing, and logo placement each time. A clean layout reduces confusion and gives clients a more professional experience. It also helps our team avoid errors when sending invoices in a hurry.
Here are a few practical settings we should review before saving the template:
- Payment terms: Set clear due dates and late fee language if needed.
- Accepted payment methods: Show how clients can pay without extra back-and-forth.
- Tax settings: Confirm whether tax is applied automatically or manually.
- Notes section: Add brief instructions, thank-you text, or project reminders.
- Branding: Use colors and logo placement that match our business identity.
We should also test the template before using it with clients. Sending a draft to ourselves lets us check alignment, readability, and whether all required fields appear correctly. If anything feels crowded or unclear, we can simplify the layout before it affects real invoices.
A well-customized template saves time every time we bill. It reduces manual edits, keeps invoices consistent, and makes it easier for clients to pay quickly. If we want even less manual work, a platform like ZenInvoice can help centralize invoicing, quotes, and collections in one flow so we can move from setup to payment with fewer steps.
Best Practices for Using a QuickBooks Invoice Template
To get the most value from a quickbooks invoice template, we should treat it as a starting point, not a finished process. The template helps us standardize billing, but the real benefit comes from how consistently we use it across clients, projects, and payment terms.
First, we should customize every invoice with the details that matter most to the client. That includes a clear invoice number, issue date, due date, itemized services or products, tax information if applicable, and any payment instructions. When we keep these fields accurate and complete, we reduce back-and-forth questions and make it easier for clients to pay on time.
We also need to keep our wording simple and professional. Short descriptions work best when they explain exactly what was delivered. For example, instead of vague labels, we can use specific line items such as consulting hours, design revisions, monthly retainer services, or completed project milestones. This improves clarity and helps clients understand the value behind each charge.
Another best practice is to use the same structure every time. A consistent format makes invoices easier to review internally and easier for clients to recognize. We can standardize:
- Invoice numbering
- Payment terms
- Accepted payment methods
- Late fee language, if we use it
- Contact information for billing