Published on April 12, 2026
Stripe Invoicing: How It Works and Setup Guide
Stripe invoicing helps us send invoices, accept payments, and track collections with less manual work and faster payment cycles.
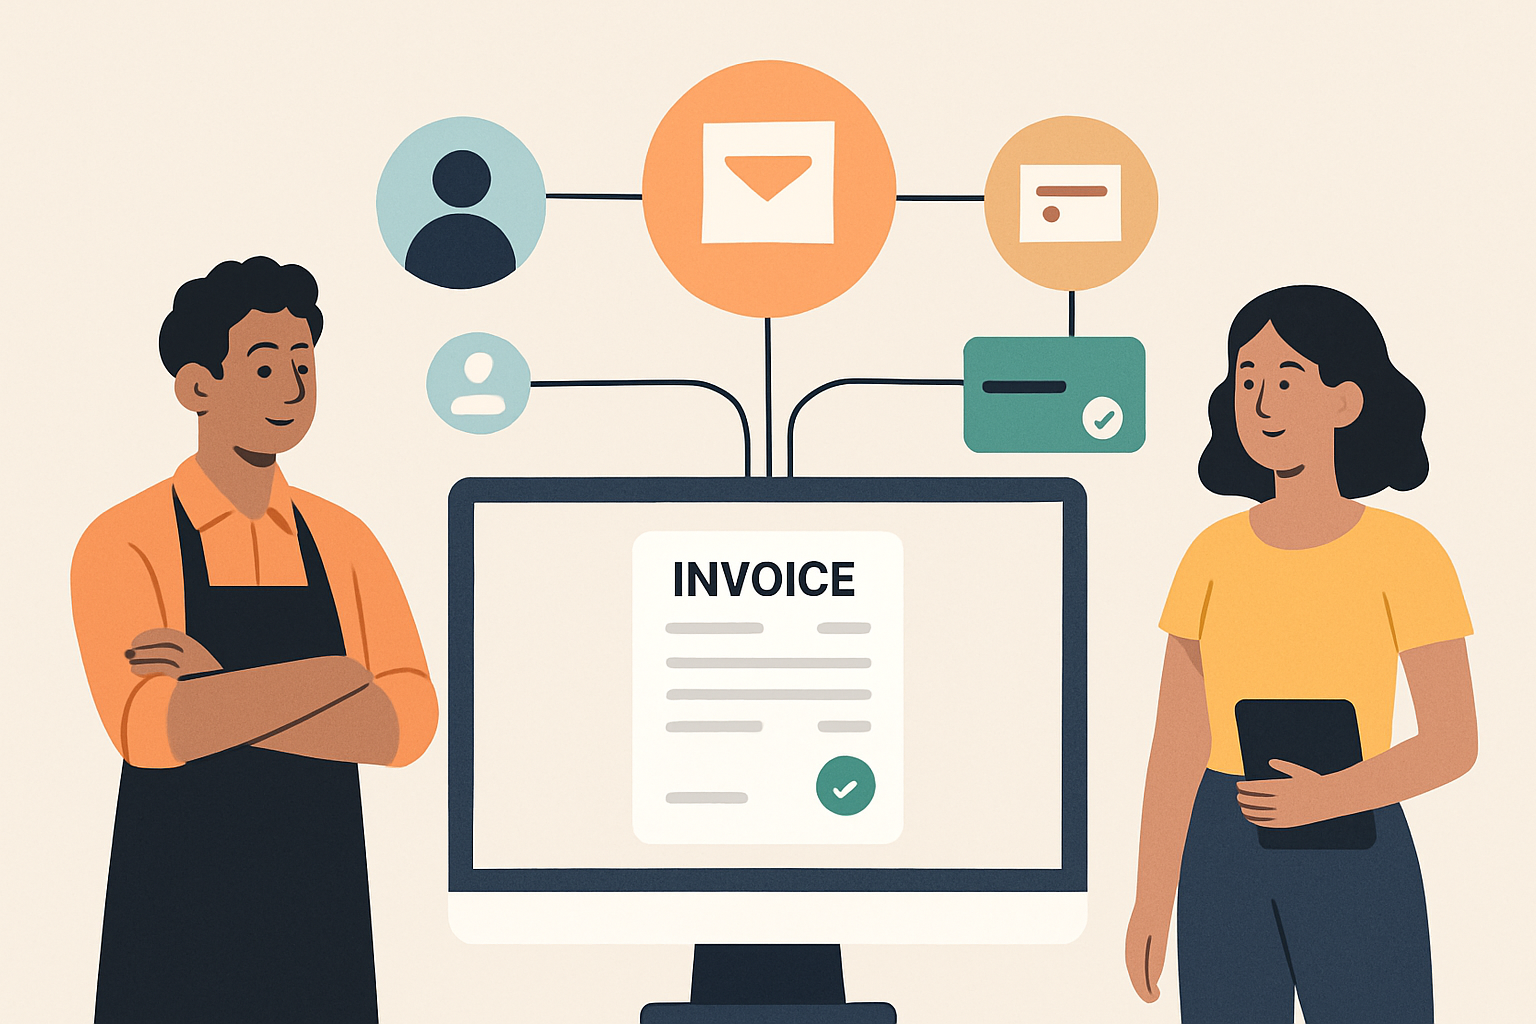
stripe invoicing gives us a fast way to create, send, and track invoices while keeping payment collection simple for clients and teams. Instead of managing billing through disconnected tools, we can use one workflow to generate invoices, accept online payments, and monitor what is still outstanding.
In this guide, we will explain how Stripe invoicing works, what features matter most, and how to set it up correctly for a smoother billing process. We will also cover practical steps for sending invoices, handling recurring billing, and reducing manual follow-up so we can get paid faster with less friction.
For businesses that want a more connected invoicing process, we will also look at ways to improve organization, reduce errors, and keep client billing consistent as volume grows.
Key Takeaways
- Stripe Invoicing lets us create, send, and track invoices in one workflow.
- We can reduce manual billing work by using saved customer details, automated totals, and recurring invoice schedules.
- Clear setup choices for branding, payment methods, and reminders help us get paid faster.
- Tracking invoice status gives us better visibility into who has viewed, paid, or still owes money.
What Stripe Invoicing Does and How the Workflow Works
stripe invoicing helps us create, send, and track invoices in one place, with payment collection built into the same workflow. Instead of moving between separate tools for billing and follow-up, we can generate an invoice, share it with a client, and monitor whether it has been viewed, paid, or still needs attention.
At a basic level, the workflow is straightforward:
- Create the invoice by adding the customer, line items, taxes, discounts, and due date.
- Send the invoice by email or by sharing a payment link.
- Collect payment through supported methods such as card or bank transfer, depending on the setup.
- Track status so we can see whether the invoice is draft, sent, paid, or overdue.
What makes this process useful is the amount of manual work it removes. We do not need to build a separate billing system or chase every payment by hand. Stripe can automatically generate invoice numbers, calculate totals, and store customer billing details for future use. That means recurring clients and repeat billing become easier to manage.
We also get more visibility into the payment cycle. If a client opens the invoice but does not pay, we can follow up with more context. If a payment fails, we can retry or update the payment method. If we use recurring billing, we can automate invoice creation on a schedule and reduce the risk of missed charges.
For teams that need a simple billing process, this workflow is appealing because it connects invoicing and collections in one system. For teams that want even less manual administration, a platform like ZenInvoice can help centralize invoices, quotes, and collections so we can keep the process moving without extra coordination.
Stripe Invoicing Setup: Account, Branding, and Payment Settings
To set up stripe invoicing effectively, we start by making sure the account is ready for billing, the brand looks consistent, and payment settings match how we want to get paid. A clean setup reduces friction for clients and helps us avoid manual fixes later.
First, we confirm that the Stripe account is fully verified and that the business profile is complete. This includes legal business details, bank account information for payouts, and any required tax or identity information. If these basics are incomplete, invoice payments can be delayed or restricted.
Next, we configure branding so every invoice looks professional and recognizable. In the invoice settings, we can usually add:
- Business name and logo
- Brand colors and accent styling
- Contact details and support email
- Invoice footer text, such as payment terms or legal notes
Branding matters because invoices are part of the customer experience. When the invoice matches our website and other client-facing materials, it feels more trustworthy and easier to process.
After branding, we review payment settings. This is where we decide how clients can pay and what happens after an invoice is sent. Common options include card payments, bank transfers, and other supported methods depending on the account and region. We should also confirm whether partial payments, automatic reminders, and due dates are enabled, since these settings affect cash flow and follow-up work.
We also recommend checking the default invoice behavior before sending anything live. That means reviewing:
- Currency selection
- Tax settings
- Invoice numbering format
- Payment due date rules
- Receipt and notification preferences
If we bill clients in more than one market, we should make sure the currency and tax setup are consistent with how we actually charge. Small mismatches here can create confusion and extra support requests.
For teams that want a simpler workflow, it helps to centralize invoicing, customer details, and payment tracking in one place. That way, we spend less time jumping between tools and more time managing collections. Platforms like ZenInvoice can support that kind of streamlined process when we want invoicing, quotes, and payment follow-up to stay connected.
Once the account, branding, and payment settings are in place, we are ready to create and send invoices with fewer errors and a more polished client experience.
How to Create, Send, and Track Invoices in Stripe
With stripe invoicing, we can move from draft to paid without juggling separate tools. The basic workflow is straightforward: we create the invoice, send it to the customer, and monitor its status until payment is complete. The value is in how much of that process Stripe automates for us.
To create an invoice, we start by adding the customer, line items, due date, and any taxes or discounts that apply. We can also include notes, payment terms, and branding so the invoice looks polished and gives the client clear instructions. If we bill the same services often, we can save time by reusing invoice details or setting up recurring invoices for repeat work.
Once the invoice is ready, we send it directly from Stripe by email or share a payment link. Stripe handles the delivery and gives the customer a simple way to pay online. That reduces back-and-forth and helps us collect faster, especially when clients prefer card or bank transfer payments instead of manual checks.
Tracking is just as important as sending. Stripe shows invoice status at